
Weekend Projects That Make a Room Feel Completely Different
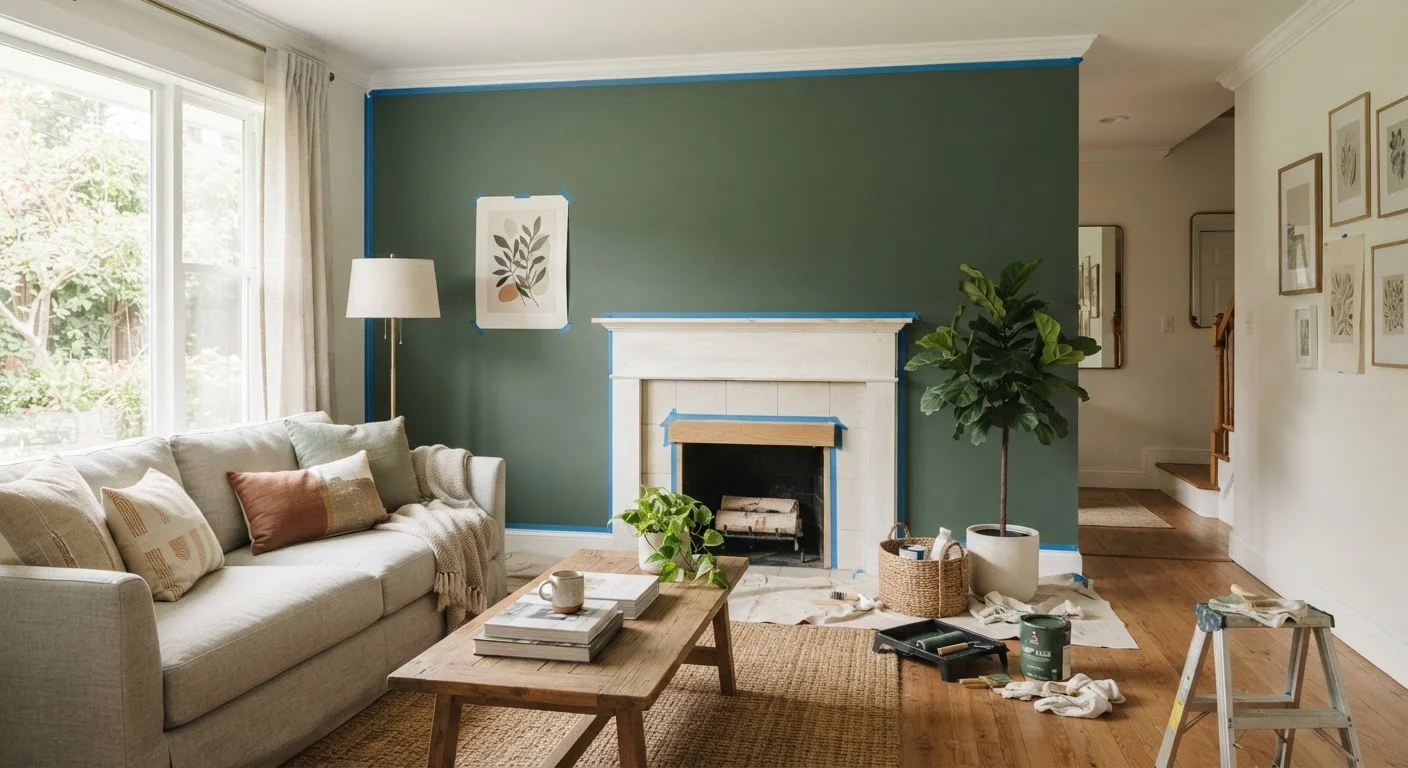
Photo credit: ResultsRover.com | Insights You Can Trust
From shiplap accent walls to cabinet hardware swaps, these low-cost weekend projects deliver outsized visual impact in almost any room.
Key Takeaways
- Most high-impact room transformations require only basic tools and a free weekend to complete.
- Swapping cabinet hardware, painting an accent wall, or adding trim work costs far less than a full renovation.
- Lighting changes alone can make a room feel larger, warmer, or more intentional without structural work.
- Planning materials in advance keeps weekend projects on schedule and avoids costly mid-project store runs.
- Even renters can apply several of these techniques using removable or non-permanent methods.
Big Results Without the Big Budget
A full renovation is often unnecessary - and almost always expensive. Many of the most dramatic room transformations come from targeted, low-cost changes that shift how a space looks and feels without touching a single load-bearing wall. These are projects you can realistically complete in one or two days, with materials available at most home improvement stores and skills that don't require a contractor.
The key is knowing which changes carry real visual weight. A fresh coat of paint on the right wall does more than replacing furniture. The right light fixture reframes an entire ceiling. Strategic trim work adds architectural character that looks built-in rather than bolted on. For a deeper look at why paint specifically delivers such consistent results, see our guide to paint as a homeowner's tool.
Before starting any project, gather all materials, measure twice, and review local permit requirements for anything involving electrical work - even minor fixture swaps. For a full framework on preparing and executing home projects safely, visit our project planning guide.
Paint a Single Accent Wall
Painting all four walls the same color is safe - but painting one wall a contrasting or deeper shade creates immediate focal-point drama. Choose the wall your eye naturally lands on when you enter the room, typically the one opposite the door or behind the primary furniture piece.
Use a quality primer if switching from light to dark. Tape edges carefully with painter's tape, cut in with a brush along trim and corners, then roll the field. Two coats of a flat or eggshell finish typically suffice. Total time: four to six hours including dry time between coats.
One painted wall can anchor an entire room's design without touching the rest.
Swap Out Cabinet Hardware
Cabinet knobs and pulls are the jewelry of a kitchen or bathroom. Swapping dated brass or plastic hardware for matte black, brushed nickel, or unlacquered brass pulls takes under two hours and requires only a screwdriver. The visual payoff is immediate and outsized relative to the cost.
Measure the existing hole spacing (center-to-center distance for bar pulls) before purchasing replacements to avoid drilling new holes. For a broader look at kitchen updates in this vein, see our kitchen refresh guide.
New cabinet hardware is the fastest per-dollar improvement in any kitchen or bathroom.
Add or Replace a Light Fixture
A builder-grade flush-mount fixture is almost always the weakest design element in a room. Replacing it with a pendant, semi-flush, or drum shade dramatically changes the room's perceived style and warmth. Many homeowners comfortable with basic electrical work handle this swap themselves - but if you're uncertain, hire a licensed electrician. Always turn off the circuit breaker before touching any wiring.
If the wiring or box condition is unclear, stop and consult a professional. Electrical work in homes requires proper safety practices and, in some jurisdictions, permits even for fixture replacement. Check your local code requirements before proceeding.
The right light fixture reframes the entire ceiling and shifts a room's character completely.
Install Peel-and-Stick Shiplap or Wainscoting Panels
Real shiplap or beadboard wainscoting historically required nailing planks to studs - a multi-day project. Peel-and-stick panel systems and thin MDF tongue-and-groove boards have made this achievable in a single day with a miter saw, brad nailer, and a level. Even paintable MDF panels installed with construction adhesive create the look of built-in architectural detail.
Measure the wall, plan your layout so panels are symmetrical from center, and caulk seams before painting for a seamless result. This works especially well in dining rooms, entryways, and bedrooms.
Shiplap or wainscoting adds architectural character that looks custom-built rather than added on.
Restyle with Crown Molding or Door Casing
Crown molding and upgraded door casing are among the most cost-effective ways to add elegance to an otherwise plain room. Pre-primed MDF molding is inexpensive, paintable, and forgiving to work with. Inside corners are coped or mitered; outside corners require careful angle cuts - a compound miter saw makes this manageable.
Measure perimeter carefully, add 10-15% for waste on cuts, and use a stud finder to nail into framing. Fill nail holes and seams with paintable caulk, let dry, then paint to match trim. The finished result looks like it came with the house.
Crown molding transforms a builder-grade room into one that feels thoughtfully finished.
Layer Lighting with Plug-In Sconces or Floor Lamps
Overhead lighting alone creates a flat, institutional look. Adding a secondary light source - plug-in wall sconces flanking a bed or sofa, or a floor lamp positioned behind furniture - introduces depth and warmth without any electrical work. Plug-in sconces have a cord that runs down the wall and can be concealed with a cord cover painted to match the wall.
Aim for light at multiple heights: overhead, eye level, and low. This layered approach makes rooms feel designed rather than simply illuminated.
Lighting at multiple heights makes a room feel designed, not just functional.
Put It All Together This Weekend
None of these projects require tearing anything down. If you're tempted to remove walls to open up a space, pump the brakes first - structural and permit considerations make that a very different undertaking. Our room addition safety checklist walks through what's involved before any demo begins.
Plan Your Materials Before Saturday Morning
The most common weekend project pitfall is a mid-project hardware store run that eats three hours and kills momentum. Make a complete materials list - including quantities, finishes, and fastener sizes - before the weekend begins. Purchase everything Thursday or Friday so Saturday morning starts with tools in hand, not a shopping cart.
For room-specific ideas, explore our kitchen refresh planning guide and our bathroom upgrade ideas - both focused on high-impact changes that avoid gut renovations. Small investments in the right places consistently outperform big spending spread thin across a room.

Author
Home & Garden Editorial Team
Home & Garden Editorial Team is the collective byline for our editorial team and contributor network. Articles published under this byline or an editorial pen name are researched, written, and reviewed according to our editorial standards for clarity, consistency, and independence before publication.
View all articles →