
Starting a Compost Pile at Home: What Goes In, What Stays Out, and How Long It Takes
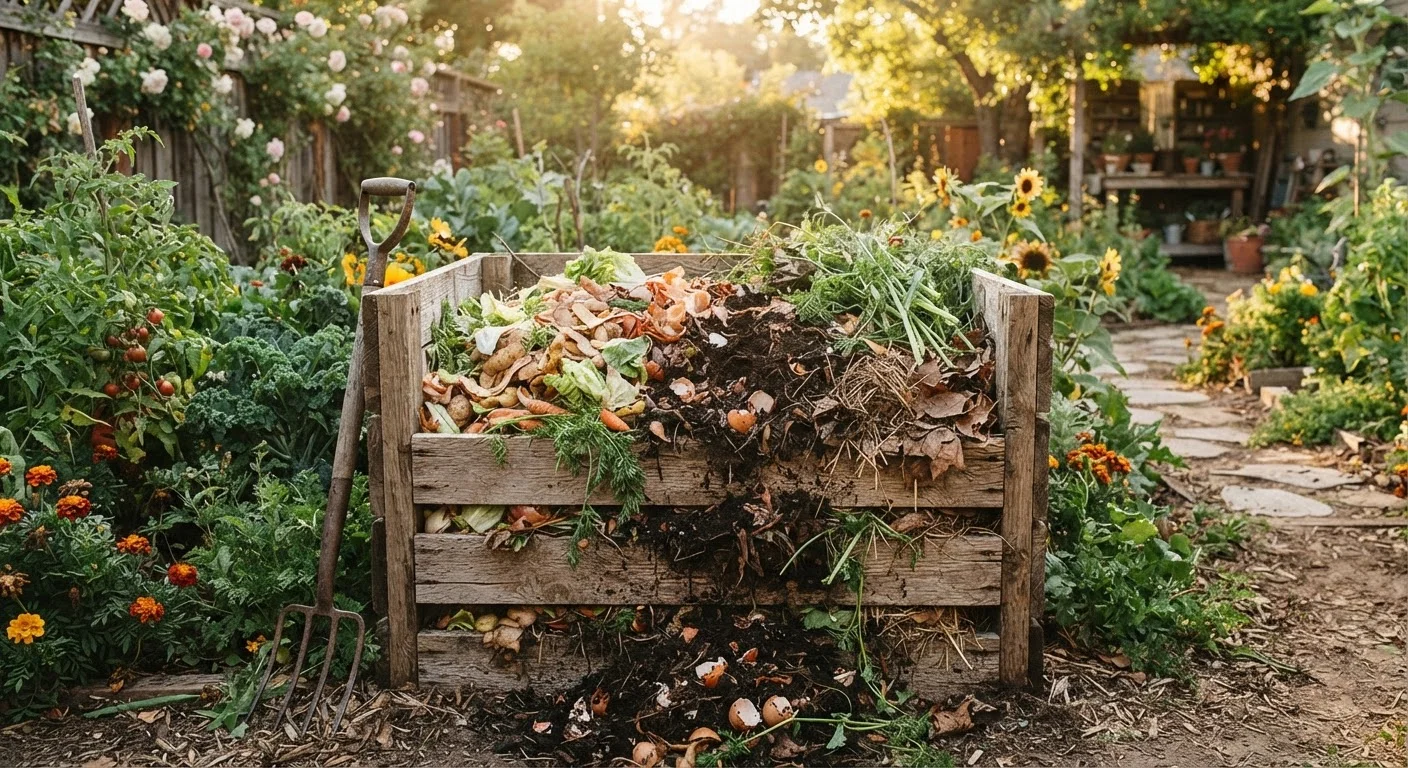
Photo credit: ResultsRover.com | Insights You Can Trust
In this article
Composting turns kitchen and yard waste into garden gold. Learn what to add, what to avoid, and realistic timelines for finished compost.
Key Takeaways
- Compost requires a balanced mix of carbon-rich 'browns' and nitrogen-rich 'greens' to break down effectively.
- Meat, dairy, oily foods, and pet waste should never go into a home compost pile.
- Finished compost typically takes two to six months depending on management and conditions.
- Turning the pile regularly and maintaining moisture accelerates decomposition significantly.
- Finished compost improves soil structure, drainage, and nutrient availability in garden beds.
Why Composting Is Worth the Effort
Home composting transforms materials you'd otherwise send to the landfill — vegetable peels, coffee grounds, cardboard scraps, fallen leaves — into a soil amendment that does more for a garden than most bagged fertilizers. Finished compost improves drainage in clay soils, helps sandy soils hold water, feeds soil microbes, and slowly releases nutrients that plants can actually use.
If you're building or maintaining raised beds, pairing them with homemade compost is one of the most cost-effective things you can do. See our complete guide to raised bed gardening for how to incorporate compost into your planting mix and seasonal care routine.
The fundamentals are simple: provide a mix of carbon and nitrogen materials, maintain moisture, and introduce oxygen. The microbes, fungi, and invertebrates do the rest. Here's what you need to know to get started.
Compost bin or designated pile area
Contains materials, retains heat and moisture, and keeps the pile tidy.
Garden fork or compost turning tool
Used to aerate and turn the pile, introducing oxygen to speed decomposition.
Garden hose or watering can
Adds moisture when the pile dries out between rain events.
Kitchen compost pail or countertop container
Collects food scraps conveniently before transferring them to the outdoor pile.
Compost thermometer
Measures internal pile temperature to confirm active decomposition is occurring.
What Goes In — and What Absolutely Stays Out
Safe to compost: fruit and vegetable scraps, eggshells, coffee grounds and paper filters, loose-leaf tea and paper tea bags, grass clippings, plant trimmings, dry leaves, straw, cardboard (remove tape), newspaper, and paper bags.
Use with caution: wood ash in small quantities raises pile pH; avoid large amounts. Citrus peels and onions are fine in moderation but can slow decomposition in quantity. Grass clippings treated with persistent herbicides should be left out — check the product label.
Never Compost These Materials
Meat, fish, bones, dairy products, oily or greasy food, pet feces, and diseased plant material must stay out of home compost piles. These items attract pests, create odors, and can introduce pathogens into soil you plan to grow food in. When in doubt, leave it out.
Woody materials like thick branches and corn stalks can be composted, but they break down very slowly unless shredded. If you don't have a shredder, use them as mulch instead.
If you enjoy growing a variety of plants — including perennials and annuals — finished compost is one of the best inputs for keeping beds productive season after season. Our article on balancing perennials and annuals covers how to plan beds that thrive with minimal replanting.
Chop or Shred Materials Before Adding
Smaller pieces have more surface area for microbes to work on, which speeds up breakdown considerably. Run a lawn mower over fallen leaves before adding them, and chop vegetable scraps into rough pieces rather than tossing in whole heads of cabbage or large stalks.
Step-by-Step: Starting and Managing Your Pile
Follow these steps to get your compost pile started on the right foundation. Once it's established, ongoing management is mostly a matter of adding materials in the right ratio, turning every week or two, and checking moisture.
What you will need
Choose a location and set up your bin or pile area
Select a spot that gets partial shade, is reasonably close to your garden beds, and has good drainage. Full sun dries the pile out too quickly; deep shade slows heating. A bare-earth base allows beneficial organisms like worms and bacteria to migrate in naturally.
You can use a purchased bin, build a simple three-sided enclosure from wooden pallets, or simply designate a corner of the yard. A minimum footprint of 3×3 feet is needed to generate enough internal heat for active decomposition.
Gather your 'browns' (carbon) and 'greens' (nitrogen)
Browns are carbon-rich materials: dry leaves, cardboard torn into pieces, newspaper (black ink only), straw, wood chips, and paper bags. Greens are nitrogen-rich materials: vegetable and fruit scraps, coffee grounds and filters, tea bags, fresh grass clippings, and garden trimmings.
A good working ratio is roughly 3 parts browns to 1 part greens by volume. Too many greens without enough browns produces a slimy, smelly pile; too many browns slows the process to a crawl.
Build your initial pile in layers
Start with a 4- to 6-inch layer of coarse browns at the base to allow airflow. Add a 2- to 3-inch layer of greens on top, then another layer of browns. Continue alternating layers, finishing with browns on top to suppress odors and discourage pests.
Water each layer lightly as you build so the pile starts with adequate moisture throughout rather than being dry in the center.
Turn the pile regularly to introduce oxygen
Aerobic decomposition — the kind you want — requires oxygen. Use a garden fork to turn the pile every one to two weeks, pulling outer material toward the center and moving the interior material toward the edges.
Each time you turn, check moisture. The pile should feel like a damp sponge. Add water if it feels powdery dry; mix in dry browns if it feels soggy.
Continue adding materials and monitor progress
Keep adding kitchen scraps and yard waste in the same brown-to-green ratio. Bury new food scraps in the center of the pile rather than leaving them on top, which reduces odors and pest interest.
Over several weeks you'll notice the pile shrinking in volume — a sign that decomposition is advancing. Material at the bottom and center breaks down first.
Recognize finished compost and harvest it
Finished compost looks dark brown, crumbles easily, smells earthy (like forest floor), and no longer resembles the original inputs. The process typically takes two to six months with regular turning; a pile left largely unattended can take nine to twelve months or longer.
To harvest, stop adding new material and let the pile finish. Sift out any large unfinished pieces and return them to a new pile. Spread finished compost 1 to 2 inches deep over garden beds and work it lightly into the top few inches of soil.
Watch Your Pile's Moisture Level
A pile that is too wet will turn slimy and anaerobic, producing foul odors. A pile that is too dry will simply stop decomposing. Aim for the moisture level of a wrung-out sponge — damp throughout but not dripping.
Composting fits naturally into the broader mindset of thoughtful home maintenance — the same patient, incremental approach that pays off over time. For general guidance on tackling outdoor and home projects, the Home Maintenance hub is a useful starting point.

Author
Home & Garden Editorial Team
Home & Garden Editorial Team is the collective byline for our editorial team and contributor network. Articles published under this byline or an editorial pen name are researched, written, and reviewed according to our editorial standards for clarity, consistency, and independence before publication.
View all articles →