
Grout, Caulk, and Sealant: The Bathroom Surfaces That Need Annual Attention
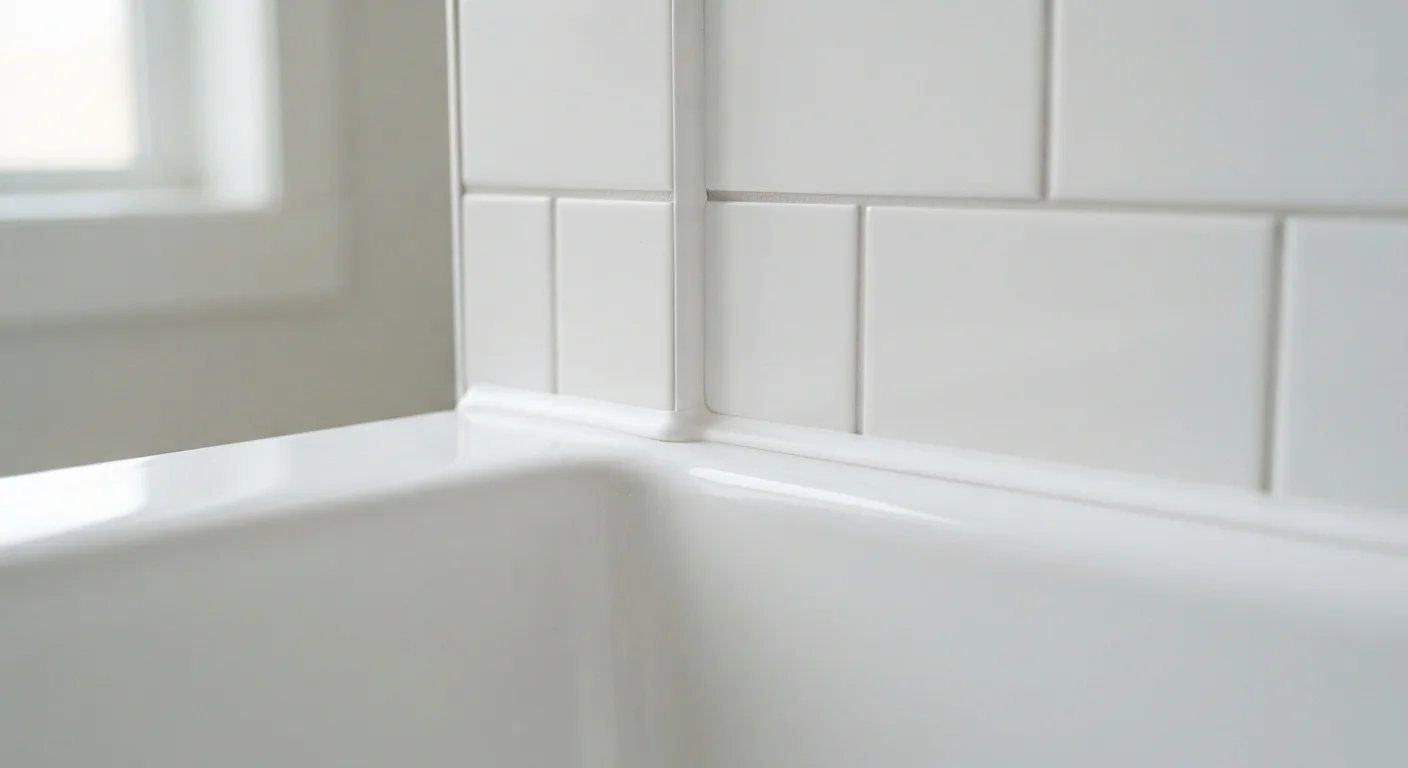
Photo credit: ResultsRover.com | Insights You Can Trust
In this article
Moisture slowly degrades bathroom seals. Learn which surfaces to inspect, how to re-seal them, and why timing matters for mold prevention.
Key Takeaways
- Bathroom grout, caulk, and sealant all degrade with moisture and need annual inspection.
- Cracked or missing caulk at tub and shower joints is the most common entry point for hidden water damage.
- Re-caulking a tub or shower surround is a beginner-friendly task that takes under two hours.
- Unsealed or worn grout absorbs moisture and stains, making it a breeding ground for mold.
- Timing maintenance before visible damage appears prevents expensive subfloor or wall repairs.
Why Bathroom Seals Fail - and Why It Matters
Bathrooms are the most moisture-intensive rooms in the house. Every shower, bath, and sink splash creates cycles of wetting and drying that slowly work on the flexible seals designed to keep water where it belongs. Caulk - the flexible sealant used at joints where two surfaces meet - expands and contracts with temperature shifts. Over time, it loses elasticity, cracks, and pulls away from surfaces. Grout, the rigid filler between tiles, is similarly porous and gradually allows water infiltration unless it's protected by a sealant layer.
The consequences of neglect are rarely visible until they're expensive. Water that gets behind tile can saturate the cement board or drywall underneath, leading to mold growth inside wall cavities and, eventually, structural damage. This is the kind of repair that starts as a simple re-caulk job and ends as a full tile removal and subfloor replacement if left too long. Our article on why deferred repairs cost more breaks down exactly how that cost curve works.
Annual attention to these surfaces is one of the highest-return maintenance habits a homeowner can build. The materials are inexpensive, the skills required are minimal, and the protection gained is substantial.
Water Behind Walls Is Costly
A failed caulk joint or unsealed grout line doesn't just look bad - it lets water silently infiltrate wall cavities and subfloors. Over time this can cause structural rot, mold growth, and repairs that cost thousands of dollars. Catching failures at the annual inspection stage is dramatically cheaper than addressing the downstream damage. See how deferred maintenance compounds costs in our article on small leaks and big bills.
What You'll Need Before You Start
Gathering the right materials before you begin saves trips to the hardware store mid-task. For most bathroom re-sealing jobs, 100% silicone caulk is the most durable choice for wet areas - it remains flexible and resists mold better than standard latex formulations. Siliconized latex caulk is a workable alternative that's slightly easier to tool and clean up. For grout lines, choose a penetrating grout sealant rather than a surface-coating type, as it bonds at a deeper level and lasts longer.
If you're unsure whether your existing caulk is silicone or latex, rub a small area with rubbing alcohol - silicone won't be affected, while latex will soften slightly. This matters because silicone caulk won't bond well over latex, and vice versa, so you may need to remove all existing material before choosing your replacement. For other areas of the home where caulk decisions come up, our guide to caulk versus weatherstripping helps clarify which product fits which situation.
What you will need
Caulk Gun
Dispenses caulk in a controlled, even bead along joints and seams.
Utility Knife or Oscillating Tool
Cuts and removes old caulk or grout cleanly without damaging surrounding tile.
Grout Sealant Applicator Bottle
Delivers sealant precisely along grout lines without spreading it across tile faces.
Painter's Tape
Creates clean, straight caulk lines by masking adjacent tile and tub surfaces.
Mold-Killing Bathroom Cleaner
Kills surface mold and mildew before new sealant is applied, preventing regrowth underneath.
Step-by-Step: Inspecting and Re-Sealing Your Bathroom
Follow these steps in order. Rushing through preparation - especially the cleaning and drying phases - is the most common reason DIY re-caulking jobs fail within a few months. Give each step the time it needs.
Inspect Every Wet Surface for Failures
Walk through each bathroom and systematically examine the tub surround, shower pan corners, floor-to-wall transitions, and the perimeter of any tile floor. Look for caulk that is cracked, pulling away from the surface, discolored black, or simply missing in sections. Press lightly on tile near the floor - if it flexes or feels soft underneath, water may already be in the subfloor. Check grout lines for crumbling, pitting, or a powdery texture, which signals that the grout has become porous and needs sealing.
Remove All Old or Failed Caulk
Use a utility knife or dedicated caulk-removal tool to score and pull out every strip of old caulk along identified joints. Work carefully to avoid scratching the tub or tile surface. For stubborn sections, a caulk softener product can be applied and left for the time specified on its label before scraping. Remove every trace - partial removal leads to poor adhesion and early failure of the new material.
Clean and Dry All Surfaces
Apply a mold-killing bathroom cleaner or a diluted bleach solution (roughly one part bleach to ten parts water) to the exposed joint area. Scrub with an old toothbrush to clean deep into the joint. Rinse thoroughly and then wipe down with rubbing alcohol on a clean rag to remove soap residue and promote adhesion. Allow the area to dry completely - at minimum two hours, preferably overnight. Caulk applied to damp surfaces will fail prematurely.
Apply Painter's Tape and Lay a Fresh Caulk Bead
Apply painter's tape along both sides of the joint, leaving only the gap exposed. Cut the caulk tube at a 45-degree angle to match the joint width. Hold the caulk gun at a consistent angle and apply steady, even pressure as you draw it along the joint in one continuous pass. Overlap the ends slightly at corners. Immediately smooth the bead with a dampened finger or a caulk-finishing tool, pressing it into the joint to eliminate air pockets. Remove the tape while the caulk is still wet, pulling it back at a 45-degree angle.
Seal Grout Lines on Tile and Floor
Once caulk is cured (check the product label - typically 24 hours), address any porous grout lines. Apply a grout sealant using an applicator bottle or a small foam brush, working it into each line systematically. Wipe excess sealant off tile faces promptly with a clean rag before it hazes. Allow the sealant to cure per the product directions before the surface gets wet. On floor tile, pay extra attention to the grout near the toilet base and the transition to the vanity - these areas see frequent splashing.
Test and Document the Work
After the full cure period, run water in the shower or tub and observe all newly sealed joints for any immediate gaps or separation. Press gently along the caulk line to confirm it has fully adhered on both sides. Take a few photos of the completed work and note the date in a home maintenance log. This record helps you track the condition year over year and gives you a useful reference point for future inspections or when planning bathroom upgrades.
Schedule Your Inspection Annually
Pick a consistent date - many homeowners tie it to a season change or a home's purchase anniversary - so the inspection doesn't get skipped. A 15-minute walk-through of every wet area once a year is all it takes to catch problems while they're still cheap to fix. Combining this with window sealing inspections makes for an efficient annual maintenance block.
Never Caulk Over Old, Failed Caulk
Applying new caulk on top of cracked, peeling, or moldy caulk traps moisture underneath and the new layer will fail quickly. Always remove the old material completely before applying a fresh bead. If you see black mold beneath the old caulk, clean the area with a mold-killing solution and allow it to dry fully before resealing.
Maintenance Myths and Common Mistakes
One persistent misconception is that bathroom surfaces only need attention when you see visible mold or feel softness in the tile. In reality, the seal can be functionally compromised long before those symptoms appear - water moves through hairline cracks invisibly. Waiting for obvious signs means water has already been in the wall for some time.
Another common error is assuming that painting over grout or applying a grout pen renews the seal. These are cosmetic fixes only and provide no meaningful water protection. Similarly, many homeowners skip the floor grout entirely and focus only on the shower - but floor grout near the toilet base and vanity sees frequent splashing and deserves equal attention. For a broader look at home maintenance assumptions that lead people astray, see our piece on home maintenance myths.
Done correctly, annual bathroom sealing is a straightforward task that keeps your bathroom looking clean, functioning safely, and protecting the structural integrity of your home for years to come.

Author
Home & Garden Editorial Team
Home & Garden Editorial Team is the collective byline for our editorial team and contributor network. Articles published under this byline or an editorial pen name are researched, written, and reviewed according to our editorial standards for clarity, consistency, and independence before publication.
View all articles →